Substance Painter Texturing瓶花教程
Substance Painter Texturing - PART 1 of 2 (Texturing in Painter)
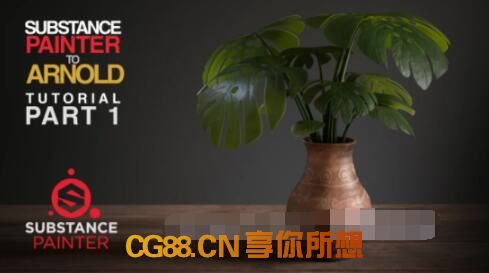
Want to learn Texturing with Substance Painter and Shading and Rendering in Arnold? This video is the first part of a 2 part series going over how to texture in Substance Painter (Part 1) and then Render in Arnold 5 of Maya (Part 2).
Timestamp Index:
01:01 - Model and UV overview.
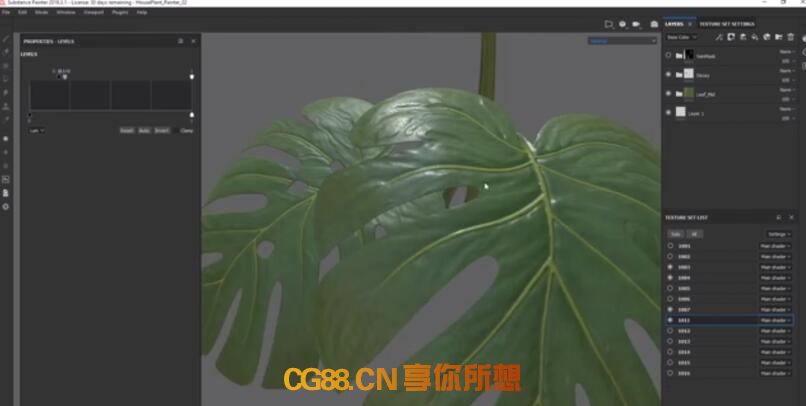
04:33 - Starting in Substance Painter.
05:29 - Studying Reference. (PureRef)
08:00 - Discussing Layer Stack in Painter.
08:36 - Discussing Fill Layers.
10:17 - How to make and use masks.
14:30 - Breakdown of leaf layerstack.
18:56 - Making the leaf vein.
24:42 - Leaf color variation.
25:52 - Leaf displacement/bump.
27:46 - Discussing anchor points.
34:06 - Making SSS Mult mask.
35:25 - Checking all channels before export.
36:47 - Exporting all texture channels.
38:40 - Final Thoughts.
想要在Arnold中使用Substance Painter和Shading and Rendering学习纹理? 这个视频是2部分系列的第一部分,讨论如何在Substance Painter(第1部分)中进行纹理,然后在Maya的Arnold 5中进行渲染(第2部分)。
时间戳索引:
01:01 - 模型和UV概述
04:33 - 从Substance Painter开始
05:29 - 学习参考。(PureRef)
08:00 - 讨论画家中的图层堆栈。
08:36 - 讨论填充图层。
10:17 - 如何制作和使用面具。
14:30 - 叶子层层分解。
18:56 - 制作叶脉。
24:42 - 叶子颜色变化。
25:52 - 叶片位移/凹凸。
27:46 - 讨论锚点。
34:06 - 制作SSS多面罩。
35:25 - 导出前检查所有通道。
36:47 - 导出所有纹理通道。
38:40 - 最后的想法。
Substance Painter Texturing - PART 2 of 2 (Rendering in Arnold)
Want to learn Texturing with Substance Painter and Shading and Rendering in Arnold? This video is the second part of a 2 part series going over how to texture in Substance Painter (Part 1) and then Render in Arnold 5 of Maya (Part 2).
Timestamp Index:
01:06 - Organize with Materials with Hypershade Layers.
03:50 - Importing Textures.
07:55 - Hooking up textures into aiStandard Surface Shader.
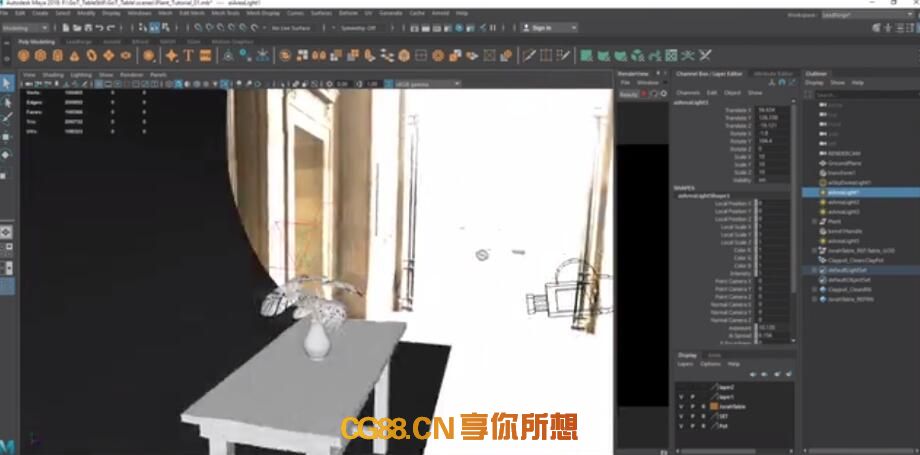
10:34 - Overview of Lighting setup.
11:35 - Camera gate settings.
12:22 - First Render.
12:51 - Displacement Setup for Objects.
14:28 - Discuss basic shelf scripts to run MEL commands.
17:14 - Modifying Shader attributes.
18:12 - Refining bump and displacement values.
20:20 - Overview on making and using AOVs.
22:11 - Artist Disclosure/Wisdom.
22:50 - Using Arnold Light Manager.
23:47 - Viewing all lights in isolation.
25:00 - Refining Bump on Leaves.
27:07 - Closing Remarks.
想要在Arnold中使用Substance Painter和Shading and Rendering学习纹理? 这个视频是2部分系列的第二部分,讨论如何在Substance Painter(第1部分)中进行纹理,然后在Maya的Arnold 5中进行渲染(第2部分)。
时间戳索引:
01:06 - 使用Hypershade图层组织材质。
03:50 - 导入纹理。
07:55 - 将纹理连接到aiStandard Surface Shader。
10:34 - 照明设置概述。
11:35 - 相机门设置。
12:22 - 第一次渲染。
12:51 - 物体的位移设置。
14:28 - 讨论运行MEL命令的基本架子脚本。
17:14 - 修改着色器属性。
18:12 - 精炼凹凸和位移值。
20:20 - 制作和使用AOV的概述。
22:11 - 艺术家披露/智慧。
22:50 - 使用Arnold Light Manager。
23:47 - 孤立地查看所有灯光。
25:00 - 叶子上的精炼凹凸。
27:07 - 结束语
你可能也喜欢
- ♥ CG教程 [视频教程] ZBrush 3D-Coat制作风格化人物半身像教程3DMotive - Stylized Character Bust Volume 205/01
- ♥ 建模贴图教程--Maya和Substance Painter中的模型和纹理旧机器人04/18
- ♥ 3DMotive – Interior Decor in 3ds Max Volume 1 室内装饰05/25
- ♥ 使用Substance Designer和Zbrush创建复杂的图案ArtStation Masterclass - Nate Stephens Creating Complex Designs and Patterns using Substance Designer and Zbrush04/09
- ♥ Marvelous Designer To Production for artists04/11
- ♥ ArtStation大师班2期机械设计理念Mech Design Concept for the Entertainment Industry04/09
热评文章
- Maya与Arnold蓝色小巷场景完整制作流程视频教程 21
- CG88艺术社-Xfrog植物插件forMaya2011-20153D植物模型CG88艺术社 13
- Maya 2019基础知识-动画-灯光-渲染 Maya 2019 Fundamentals Dynamics, Lighting and Rendering 9
- maya2019基础uv、材质和纹理 Maya 2019 Fundamentals UVs, Materials, and Textures 9
- Artstation2018大师班教程 8
- maya2019基础概述和建模 Maya 2019 Fundamentals Overview and Modeling 4


